Analogue watch design
Resources
Table of contents
Introduction
Today we are going to design and create an analogue watch in swiftUI. This will be a small piece from an upcoming project I am working on, it’s a simple app. Writing about the entire thing might be tiresome for readers and me, so I will divide this into smaller pieces. From now on I will be writing about pieces of a project until the entire thing is fully put together.
With that out of the way, let’s get down to business.
Requirements
- Xcode 12 or greater
- MacOS Catalina or greater
- Swift 5.0 or greater
- iOS 14 or greater
Get started
- Open Xcode
- Create a new Xcode project
- Select single view app and click next
- Name your app and make sure the user interface is Swift UI
- Last, click Finish.
- Before we start, create a folder named Views. This is where we will be keeping our views. Let’s get started.
Watch Hand
Inside the Views folder, add a new file called WatchHand and inside that file replace everything inside with the following:
import SwiftUI

struct WatchHand: View {
    var handWidth: CGFloat = 10
    var handHeight: CGFloat = 100
    var color: Color = Color.blue

    var body: some View {
        VStack(spacing: -(handWidth / 2)) {
            Capsule().frame(width: handWidth, height: handHeight).foregroundColor(color)
            Circle().frame(width: handWidth * 2, height: handWidth * 2).foregroundColor(color)
        }
    }
}

struct WatchHand_Previews: PreviewProvider {
    static var previews: some View {
        WatchHand()
    }
}
The above code stacks a capsule and circle with a negative spacing to create a watch hand design.
Preview

Watch Frame
Create a new file named WatchFrame and replace everything inside with the following:
import SwiftUI

struct WatchFrame: View {

    var size: CGFloat = 200
    var borderSize: CGFloat = 20

    var body: some View {

        ZStack {
            Circle()
                .frame(width: size, height: size)
                  .foregroundColor(Color.clear)
                .background(RadialGradient(gradient: Gradient(colors: [Color.white, Color.black]) , center: .center, startRadius: size * 0.41, endRadius: size ) )

            Circle().stroke(style: StrokeStyle(lineWidth: borderSize))
                .frame(width: size, height: size)
                .foregroundColor(Color.white)

        }.cornerRadius(size / 2)
            .shadow(color: Color.gray.opacity(0.3), radius: 12, x: 0, y: 0)
    }
}

struct WatchFrame_Previews: PreviewProvider {
    static var previews: some View {
        WatchFrame()
    }
}
Notice how we stack 2 circles on the Z axis. The first circle creates an inner shadow by adding a Gradient modifier to it and the second creates a border. You can play with the startRadius value to find what you like if you don’t like mine.
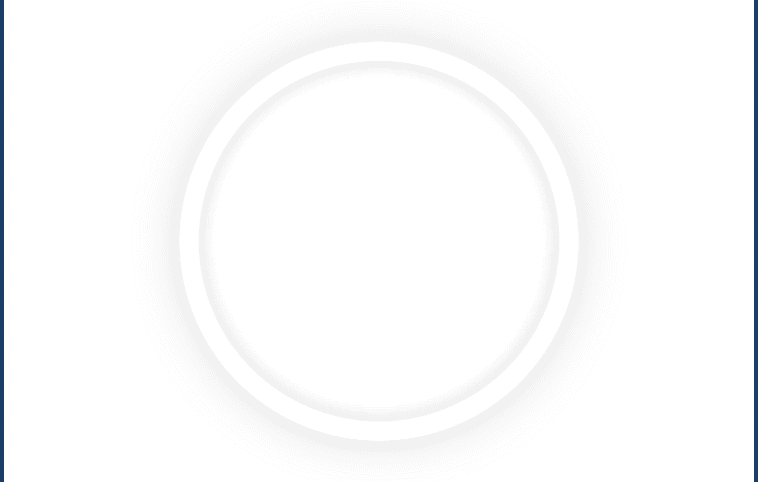
Preview
Watch View
This part will bring the 2 views together to create our analogue watch. Same as before, creates a new file named WatchView. At the top of the file add these properties:
    var diameter: CGFloat = 200
    var smallCapsuleHeight: CGFloat = 5
    var bigCapsuleHeight: CGFloat = 10

    @State var hours: Double = 0.0
    @State var minutes: Double = 0.0
    @State var seconds: Double = 0.0
Then replace what’s inside the body block with the following:
VStack {
            Text("\(hours < 10 ? "0" : "")\(Int(hours)):\(minutes < 10 ? "0" : "")\(Int(minutes)):\(seconds < 10 ? "0" : "")\(Int(seconds))")
                           .font(.system(size: 70, weight: .black))
        }
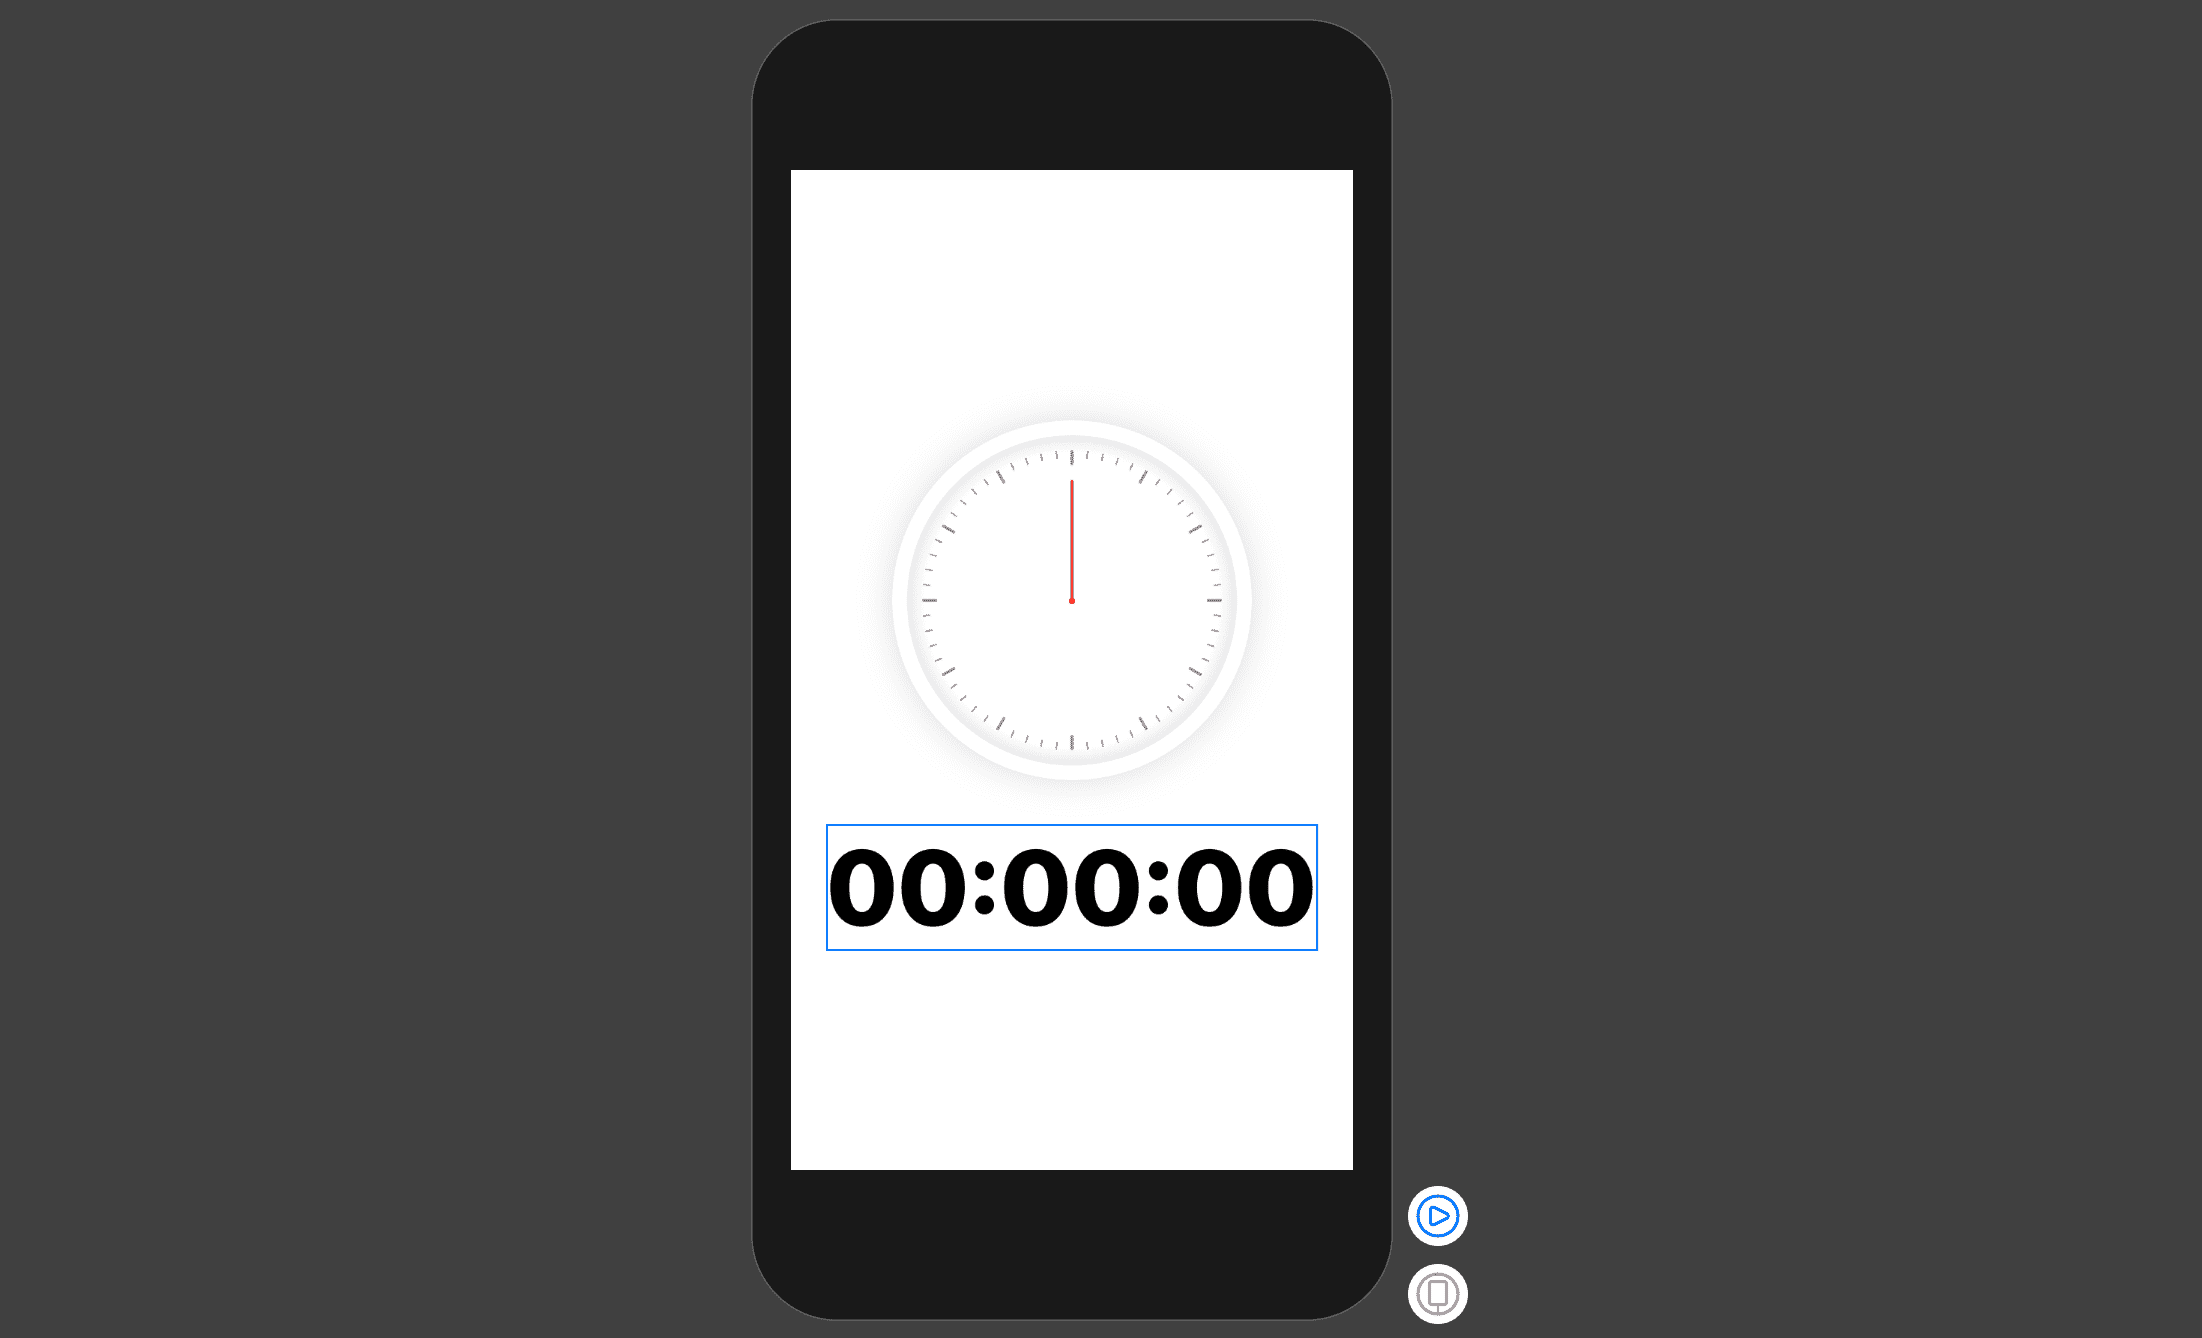
Your preview should show this:

Below the body block, add this function:
    func createWatch() -> some View {

        let angle = 360 / 60
             let hourAngle = 360 / 12
             let interval = 360 / angle

        let hourLength: CGFloat =  diameter / 2 * 0.4
        let minuteLength: CGFloat = diameter / 2 * 0.7
        let secondLength: CGFloat = diameter / 2 * 0.8

        return  ZStack {
            WatchFrame(size: self.diameter + 40, borderSize: 20)

            ForEach(0..<interval){ i in
                self.createSecondMark(position: i, angle: angle)
            }

            WatchHand(handWidth: 2, handHeight: hourLength, color: Color.black)
                .offset( y:  -(hourLength / 2) + 1.0)
                .rotationEffect(Angle(degrees: hours * Double(hourAngle) + (Double(hourAngle) * minutes / 60.0) ) , anchor: .center)

            WatchHand(handWidth: 2, handHeight: minuteLength, color: Color.black)
                .offset( y:  -(minuteLength / 2) + 1.0)
                .rotationEffect(Angle(degrees: minutes * Double(angle) + (Double(angle) * seconds / 60.0)) , anchor: .center)

            WatchHand(handWidth: 2, handHeight: secondLength, color: Color.red)
                .offset( y:  -(secondLength / 2) + 1.0)
                .rotationEffect(Angle(degrees: seconds * Double(angle)) , anchor: .center)
        }
    }
The above code does the following:
- Calculates the angle between 2 second marks by dividing the entire circle by 60 which is obviously the number of seconds and we will use the same value for minutes, as for hours, we divide the entire circle by 12.
- We put everything in a ZStack container because we want them to be stacked on top of each other. First we add the frame, then we create the second marks. You will get an error because the
createSecondmarkdoes not exist yet. Last we add the 3 hands (hour, minute and second).
Below the above function, add the following:
    func createSecondMarks(position: Int, angle: Int) -> some View{
        if position.isMultiple(of: 5) {
            return Capsule().frame(width:  2, height:  self.bigCapsuleHeight).offset(y: self.diameter / 2 - self.bigCapsuleHeight / 2).rotationEffect(Angle(degrees: Double(position * angle) )).foregroundColor(Color.gray)
        } else {
            return Capsule().frame(width:  1 , height: self.smallCapsuleHeight).offset(y: self.diameter / 2 - self.smallCapsuleHeight / 2).rotationEffect(Angle(degrees: Double(position * angle) )).foregroundColor(Color.gray)
        }
    }
The above code create the second marks and makes the hour marks a bit thicker and longer than the normal marks. Here the order of modifiers is very important, make sure you write exactly the same code. The code does the following:
- First give the capsule a frame.
- Then push it to the edge of the circle by setting its y offset to half the diameter minus its length.
- And last I set its rotation effect where the angle is the position times the angle we calculated above.
Now call the
createWatch()in thebodyblock, above theText()like this:
VStack {
            createWatch()
            Text("\(hours < 10 ? "0" : "")\(Int(hours)):\(minutes < 10 ? "0" : "")\(Int(minutes)):\(seconds < 10 ? "0" : "")\(Int(seconds))")
                           .font(.system(size: 70, weight: .black))
        }
Preview
The UI Part is done and ready. Let’s now work on the logic part.
Time Logic
Below the createSecondMarks function, add the following code:
    func getTimeComponent(from date: Date, format: String) -> Double {
        let formatter = DateFormatter()
        formatter.dateFormat = format
        formatter.locale = Locale.autoupdatingCurrent
        let component = formatter.string(from: date)

        if let value = Double(component) {
            return value
        }
        return 0.0
    }
This function formats and returns a date component in Double, we will use it to retrieve hours, minutes and seconds from a particular date.
Then add the following modifier to the VStack container in the body block:
.onAppear{
            let date = Date()
            self.hours = self.getTimeComponent(from: date, format: "HH")
            self.minutes = self.getTimeComponent(from: date, format: "mm")
            self.seconds = self.getTimeComponent(from: date, format: "ss")

            Timer.scheduledTimer(withTimeInterval: 1, repeats: true) { timer in
                let date = timer.fireDate

                self.hours = self.getTimeComponent(from: date, format: "HH")
                self.minutes = self.getTimeComponent(from: date, format: "mm")
                self.seconds = self.getTimeComponent(from: date, format: "ss")
            }
        }
The code inside onAppear will run every time the VStack first appears and does the following:
- First get the current date and updates the hands.
- Then schedules a timer which will be running every second to update the time and move the hands.
Before running the app, make sure you call the
WatchViewinside theContentView’s body block like this:
 var body: some View {
        WatchView()
 }
That’s it folks! Stay tuned for lots of cool stuff like this, don’t forget to subscribe and share this article.