Movie Tickets UI
Introduction
In this article, you will learn how to :
- Create custom shapes with paths
- Clip a existing view using the shape that you’ll create
- Create a 3D Scroll effect
- And more … Enjoy!
Requirements
- Xcode 12 or greater
- MacOS Catalina or greater
- Swift 5.0 or greater
- iOS 14 or greater
Get started
- Open Xcode
- Create a new Xcode project
- Select single view app and click next
- Name your app and make sure the user interface is Swift UI
- Last, click Finish.
Rename the
ContentViewfilename and struct toMovieTicketApp, and make sure you rename its reference inSceneDelegate
func scene(_ scene: UIScene, willConnectTo session: UISceneSession, options connectionOptions: UIScene.ConnectionOptions) {
    // Use this method to optionally configure and attach the UIWindow `window` to the provided UIWindowScene `scene`.
    // If using a storyboard, the `window` property will automatically be initialized and attached to the scene.
    // This delegate does not imply the connecting scene or session are new (see `application:configurationForConnectingSceneSession` instead).

    // Create the SwiftUI view that provides the window contents.
    let movieTicketApp = MovieTicketApp()

    // Use a UIHostingController as window root view controller.
    if let windowScene = scene as? UIWindowScene {
        let window = UIWindow(windowScene: windowScene)
        window.rootViewController = UIHostingController(rootView: movieTicketApp)
        self.window = window
        window.makeKeyAndVisible()
    }
}
Change everywhere you see ContentView referenced to MovieTicketApp .
As always, I will go through creating this design step by step. Let’s get started.
Create the top part.
Create a folder named Views and inside it add a swiftUI file named TopTicketView. Replace everything inside the body block with the following:
   VStack{
            VStack(alignment: .leading) {
                Text(studioName)
                    .font(.system(size: 20, weight: .bold))
                    .foregroundColor(Color.gray)
                Text(movieTitle)
                    .font(.system(size: 30, weight: .black))

            }.frame(minWidth: 0.0, maxWidth:.infinity, alignment: .leading)
                .padding(.top, 30)
                .padding(.horizontal)

            Image(uiImage: UIImage(named: imageName)!)
                .resizable().modifier(FullWidthModifier())
                .frame(height: 200)
                .scaledToFit()

            HStack{
                DetailsView(detail1: "SCREEN", detail2: "18", detail3: "PRICE", detail4: "$5.68")
                DetailsView(detail1: "ROW", detail2: "H", detail3: "DATE", detail4: "23/05/13")
                DetailsView()
            }.padding(.vertical)
        }
And add this at the top of the file:
    var studioName = "studio"
    var movieTitle = "ONLY GOD FORGIVES"
    var imageName = "terminator.jpg"
The above code just creates a vertical stack of Views and the last view is a HStack containing the DetailsView which does not exist yet. Let’s us now create that view.
In the same Views folder, add a new swiftUI file named DetailsView and replace everything inside with the following code:
import SwiftUI

struct DetailsView: View {
    var detail1  = "SEAT"
    var detail2 = "34"
    var detail3 = "TIME"
    var detail4 = "18:15"

    var body: some View {
        VStack(spacing: 10){
            VStack {
                Text(detail1)
                    .font(.system(size: 15, weight: .bold))
                    .foregroundColor(Color.gray)
                Text(detail2)
                .font(.system(size: 30, weight: .black))

            }

            VStack {
                Text(detail3)
                    .font(.system(size: 15, weight: .bold))
                    .foregroundColor(Color.gray)
                Text(detail4).font(.system(size: 15, weight: .bold))
            }
        }.modifier(FullWidthModifier())
    }
}

struct DetailsView_Previews: PreviewProvider {
    static var previews: some View {
        DetailsView()
    }
}
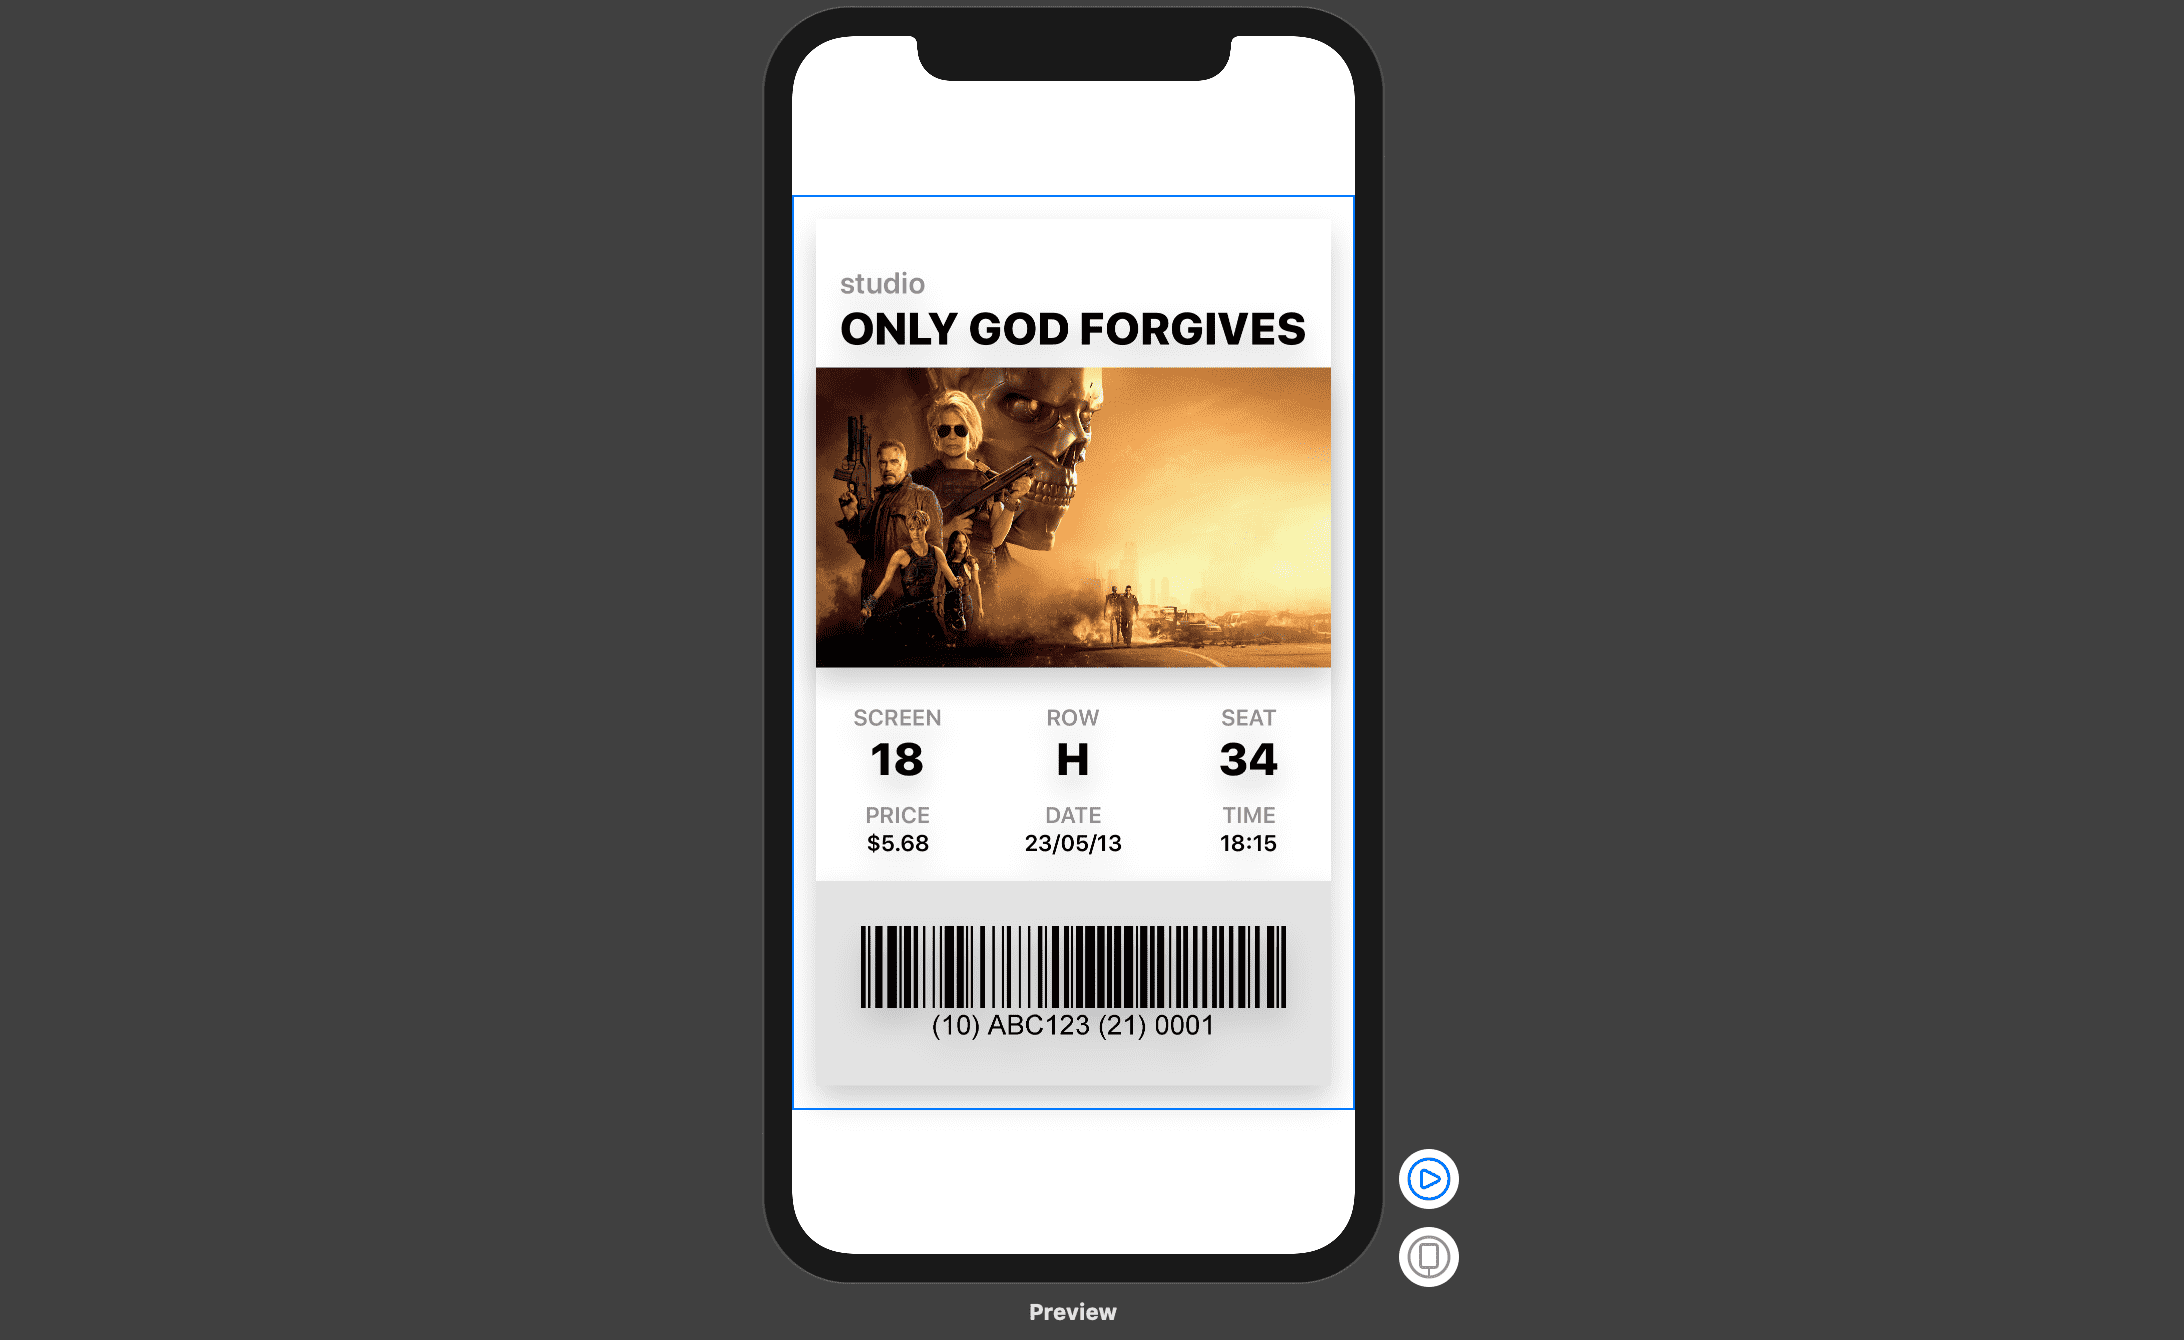
Preview

Create the bottom part.
This view will just be a simple Image showing the barcode which in our case will be static, but for a real world project this must be dynamic.
In the Views folder, add a swiftUI file BottomTicketView and add the following code inside:
import SwiftUI

struct BottomTicketView: View {
    var body: some View {
         Image("Barcode")
                       .resizable()
                       .scaledToFit()
                       .padding(30)
                       .modifier(FullWidthModifier())
    }
}

struct BottomTicketView_Previews: PreviewProvider {
    static var previews: some View {
        BottomTicketView()
    }
}
You get an error caused by the FullWidthModifier, So add a folder named modifiers and add a swift file inside it named FullWidthModifier. Add the
following code inside the file you’ve just created:
import SwiftUI

struct FullWidthModifier: ViewModifier {
    func body(content: Content) -> some View {
        content.frame(minWidth: 0.0, maxWidth: .infinity)
    }
}
Preview
Create the TicketView
Let’s now put the 2 parts together to create the TicketView. Inside the Views folder, add the following code:
import SwiftUI

struct TicketView: View {
    var studioName = "studio"
    var movieTitle = "ONLY GOD FORGIVES"
    var imageName = "terminator.jpg"

    var body: some View {
      VStack(spacing: 0) {
                  TopTicketView(studioName: studioName, movieTitle: movieTitle, imageName: imageName)
                      .background(Color.white)
                  .modifier(CardStyleModifier())

                  BottomTicketView()
                      .background(Color("barcodeBG"))
                  .modifier(CardStyleModifier())

              }.padding()
    }
}

struct TicketView_Previews: PreviewProvider {
    static var previews: some View {
        TicketView()
    }
}
Then in the Modifiers folder, add a new swiftUI file CardStyleModifier containing the following code inside:
import SwiftUI

struct CardStyleModifier: ViewModifier {
    func body(content: Content) -> some View {
        content
            .shadow(color: Color.black.opacity(0.2), radius: 10, x: 0, y: 10)
    }
}
The above code just put the 2 ticket parts together and apply a shadow to them individually. Here is the resulting view:
Preview
Let’s now design the ticket to look like a movie ticket. To do that, we will need to create 2 custom shapes:
- The Dashed Separator which will be between the top and bottom parts
- The Ticket Shape that we will use to clip the ticket View.
Dashed Separator Shape
Create a new folder named Shapes and inside that folder add a new swift file named, then add the following code inside:
import SwiftUI

struct DashedSeperator: Shape {
    func path(in rect: CGRect) -> Path {
        var path = Path()
        path.move(to: CGPoint(x: rect.origin.x, y: rect.origin.y))
        path.addLine(to: CGPoint(x: rect.size.width, y: rect.origin.y ))
        path.closeSubpath()
        return path
    }
}
Illustration This code just creates and straight horizontal line from across the provided width.
Ticket Shape
Inside the same folder, create a new swift file named TicketShape and add the following inside:
import SwiftUI

struct TicketShape: Shape {
    func path(in rect: CGRect) -> Path {
        let arcRadius: CGFloat = 20
        let smallArcRadius:CGFloat = 10

        var path = Path()
        path.move(to: CGPoint(x: rect.origin.x, y: rect.origin.y + arcRadius))
        path.addArc(center: CGPoint.zero, radius: arcRadius, startAngle: Angle(degrees: 90), endAngle: Angle(degrees: 0) , clockwise: true)

        path.addArc(center: CGPoint(x: rect.midX, y: rect.origin.y) , radius: arcRadius, startAngle: Angle(degrees: 180), endAngle: Angle(degrees: 0) , clockwise: true)

        path.addLine(to:  CGPoint(x: rect.size.width - arcRadius, y: rect.origin.y))
        path.addArc(center: CGPoint(x: rect.size.width , y: rect.origin.y), radius: arcRadius, startAngle: Angle(degrees: 180), endAngle: Angle(degrees: 90) , clockwise: true)

        path.addLine(to:  CGPoint(x: rect.size.width, y: rect.size.height - smallArcRadius))
        path.addArc(center: CGPoint(x: rect.size.width , y: rect.size.height), radius: smallArcRadius, startAngle: Angle(degrees: 270), endAngle: Angle(degrees: 180) , clockwise: true)

        path.addLine(to:  CGPoint(x: rect.origin.x + smallArcRadius, y: rect.size.height))
        path.addArc(center: CGPoint(x: rect.origin.x , y: rect.size.height), radius: smallArcRadius, startAngle: Angle(degrees: 360), endAngle: Angle(degrees: 270) , clockwise: true)

        path.closeSubpath()
        return path
    }
}
This code goes around and draws the shape that we will use to cut the top and bottom parts of the tickets.
It’s now time to clip the 2 views. Open the Views folder and inside the TicketView file, replace the content of the body with the following:
      VStack(spacing: 0) {
                  TopTicketView(studioName: studioName, movieTitle: movieTitle, imageName: imageName)
                      .background(Color.white)
                      .clipShape(TicketShape())
                  .modifier(CardStyleModifier())

                  DashedSeperator()
                      .stroke(Color.gray, style: StrokeStyle(lineWidth: 1,dash: [4,8], dashPhase: 4))
                      .frame(height: 0.4)
                      .padding(.horizontal)

                  BottomTicketView()
                      .background(Color("barcodeBG"))
                   .clipShape(TicketShape().rotation(Angle(degrees: 180)))
                  .modifier(CardStyleModifier())

              }.padding()
This is the same code but contains some additions which are the following:
- After the
backgroundmodifier, I aclipShapemodifier withTickerShape()passed in. - Then I put the
DashedSeperator()between the 2 parts in order to separate them and create an effect of small cuts. Notice how I set the height to be 0.4 otherwise it would take a third of the height of the parent container. - And last, after
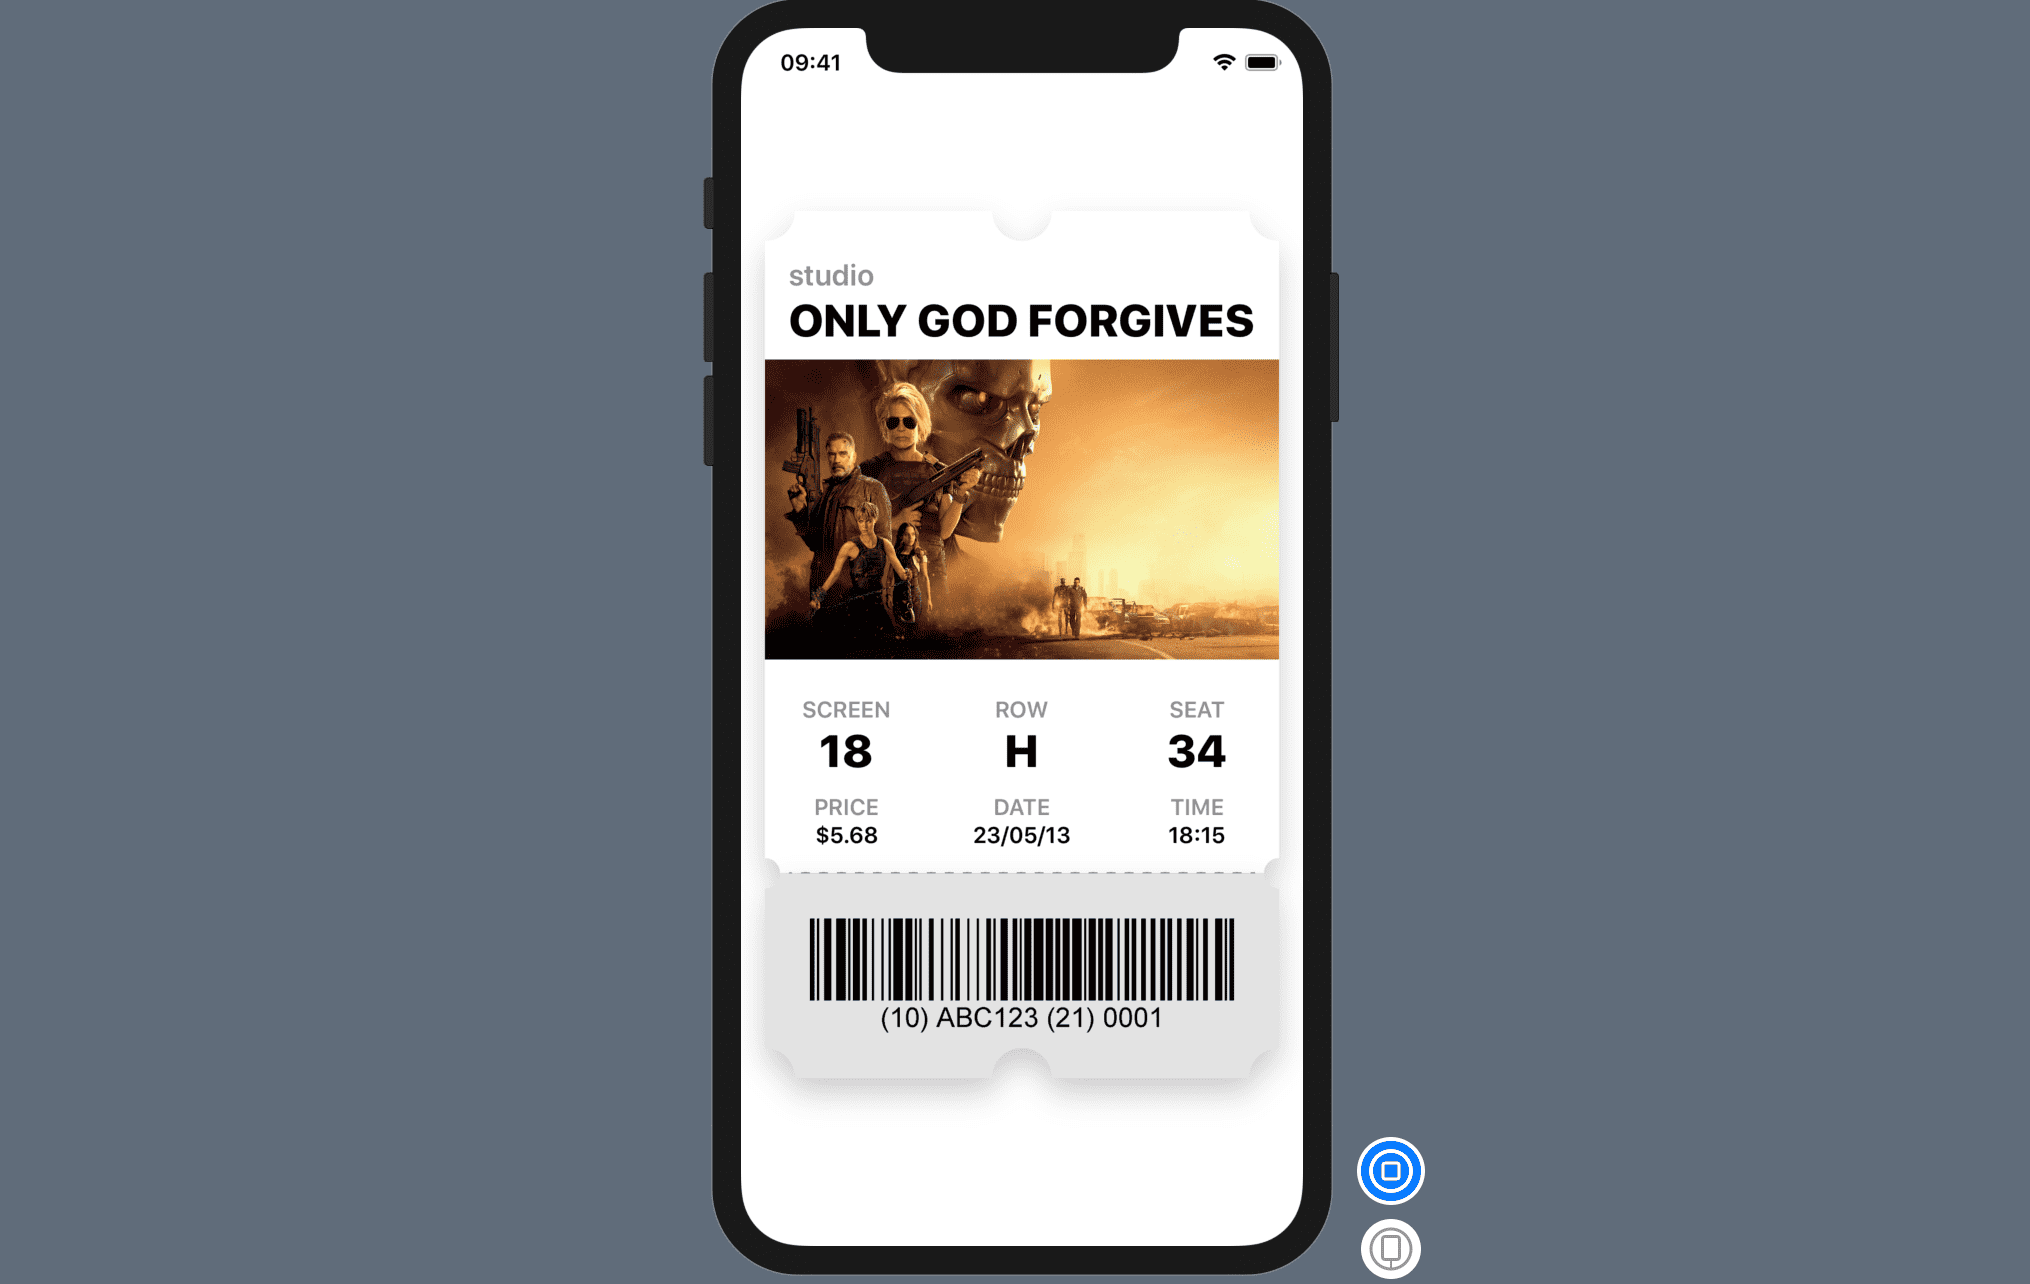
backgroundmodifier applied to theBottomTicketView, I add also aclipShapemodifier but this time I flip theTicketShapeby applying a rotation effect of 180 degrees because I want the top of theTicketShapeto be the bottom when clipping theBottomTicketView. Here is the result:
Preview
Scrolling with 3D effect
First, we will need some sample data, so create a new folder named Models and add a swift file inside named Ticket with the following code:
import Foundation
struct Ticket: Hashable, Identifiable {
var id = UUID()
let studioName: String
let movieTitle: String
let imageName: String
static func data() -> [Ticket] {
return [
Ticket(studioName: "Walt Disney Pictures", movieTitle: "ALADDIN", imageName: "aladdin.jpg"),
Ticket(studioName: "Walt Disney Pictures", movieTitle: "CARS", imageName: "cars.jpg"),
Ticket(studioName: "Seven Bucks Productions", movieTitle: "HOBBS AND SHAW", imageName: "hobbsandshaw.jpg"),
Ticket(studioName: "Lin Pictures", movieTitle: "IT", imageName: "it.jpg"),
Ticket(studioName: "Warner Bros. Pictures", movieTitle: "JOKER", imageName: "joker.jpg"),
Ticket(studioName: "Walt Disney Pictures", movieTitle: "LION KING", imageName: "lionking.jpg"),
Ticket(studioName: "Paramount Pictures", movieTitle: "TERMINATOR", imageName: "terminator.jpg"),
Ticket(studioName: "Marvel Studios", movieTitle: "X-MEN", imageName: "xmen.jpg"),
]
}
}
You will need to download the completed project and use the images in the Images folder.
Then replace the content in the MovieTicketApp’s body with the following code:
ScrollView(.horizontal, showsIndicators: false) {
     HStack {
           ForEach(Ticket.data(), id: \.id) {  ticket in
                     GeometryReader { gr in
                    self.renderTicket(ticket, angle: gr.frame(in: .global).minX / -10)
                        }.frame(width: UIScreen.main.bounds.width)
                    }
                }
            }.frame(minHeight: 0.0, maxHeight: .infinity)
            .background(Color("bg"))
            .edgesIgnoringSafeArea(.all)
You will need to add the following function below the body block to silence that error:
    func renderTicket(_ ticket: Ticket, angle: CGFloat) -> some View {
        return TicketView(studioName: ticket.studioName, movieTitle: ticket.movieTitle, imageName: ticket.imageName)
               .frame(width: UIScreen.main.bounds.width)
        .frame(minHeight: 0.0, maxHeight: .infinity)
         .rotation3DEffect(Angle(degrees: Double(angle)) , axis: (x: 0, y: 10.0, z: 0))
    }
The bit to note here is the rotation3DEffect modifier. The effect works like this:
- We put each
TicketViewinGeometryReadercontainer in order to get its individual size and coordinate space. - Then we apply a 3D rotation effect on the Y axis of each
TicketViewby setting the angle to theTicketView’sminXand the axis to(x: 0, y: 10.0, z: 0))
That’s it folks. Feel free to share this article. Happy coding!